Documents
The Documents pane lets you manage the documents within a group.
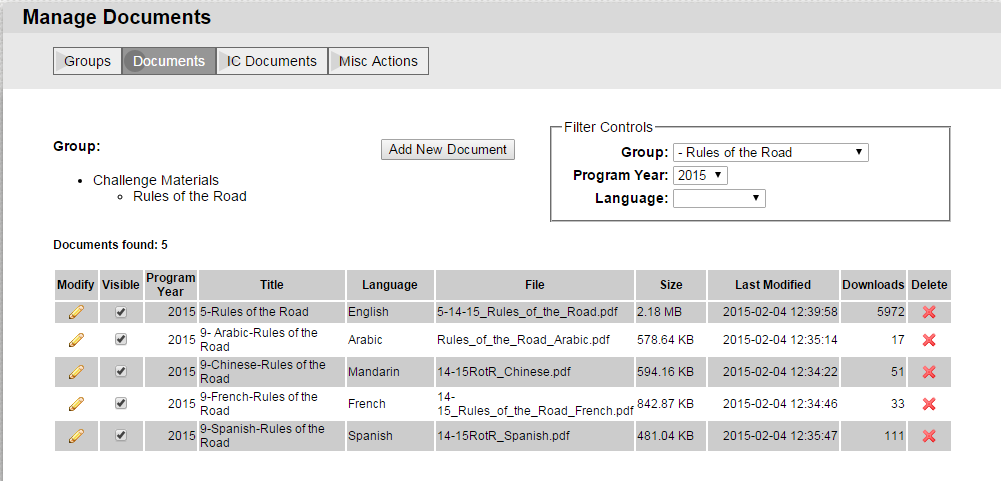
The Filter Controls area in the upper right lets you pick the group you want to work on (you work on a group at a time). If there are a large number of documents in a group, you can limit the number seen by picking a particular Program Year or those written in a specific Language.
To the left of the filter is a button to Add New Document to this group.
Further to the left, you can see where the group exists in the hierarchy of groups.
At the bottom of the page is a table of the documents in the group that match the selections in the filter. In the example below we are looking at the documents in the group Rules of the Road that are from program year 2015.
The table contains some controls that let you change the document:
- the pencil (
 ) in the Modify column will let you change the properties of the document (more below)
 - the checkbox in the Visible column lets you mark a document visible (checked) or invisible (unchecked)
- the
 in the Delete column will delete the document (both as a member of this group and the file)
Adding or Changing the Properties of a Document
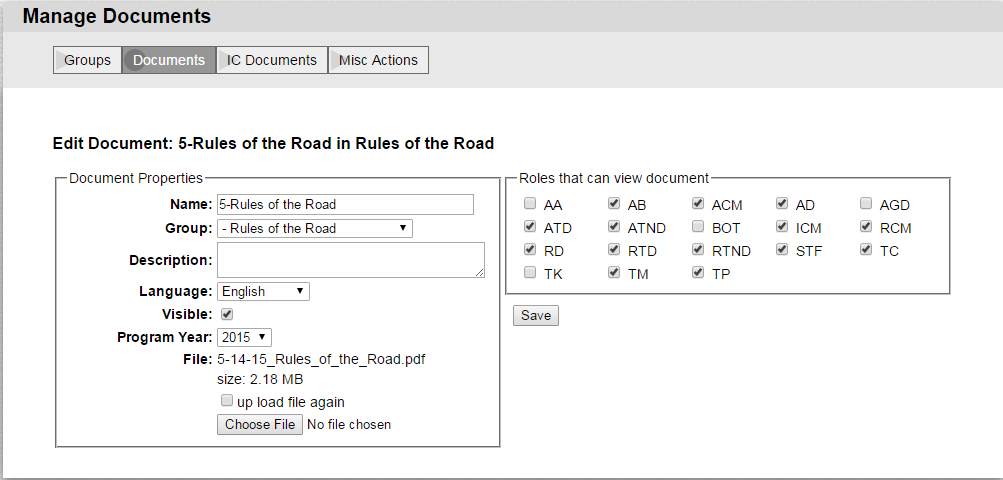
The pane below is displayed either when you add a new document or you edit an existing document.
The pane lets you change most of the properties associated with a document including its name, group, associated program year and visibility.
Near the bottom of the properties, you will find the controls that will upload and associate a file with this document. When adding a document you will need to upload the associated file that people will download when selecting this document. Once updated, however, you don't need to upload again unless you need to replace the file. This is the purpose of the up load file again checkbox.
At the right you can chose the roles that can view the document. By roles we mean the roles people play in the organization (such as AD or Affiliate Director). If you check a box (eg RCM), then people identified in the Resource Area as Regional Challenge Masters will be able to see and download the file associated with this document.
Associating roles with documents can be laborious. First you need to understand each of the roles. Note that if you hover over the checkbox to the left of a role abbreviation, it will tell you the full role name. When you initially add a document, the roles are set to those associated with the group where you place the document. Misc Action also has an aid to set the roles for all documents in a group.
Don't forget to click on the Save button to save your changes to the document's properties.